
How to Turn Family Photos into a Searchable Story Archive
Turn boxes of family photos into a searchable story archive with stable references, useful metadata, respectful interviews, and independent backups.
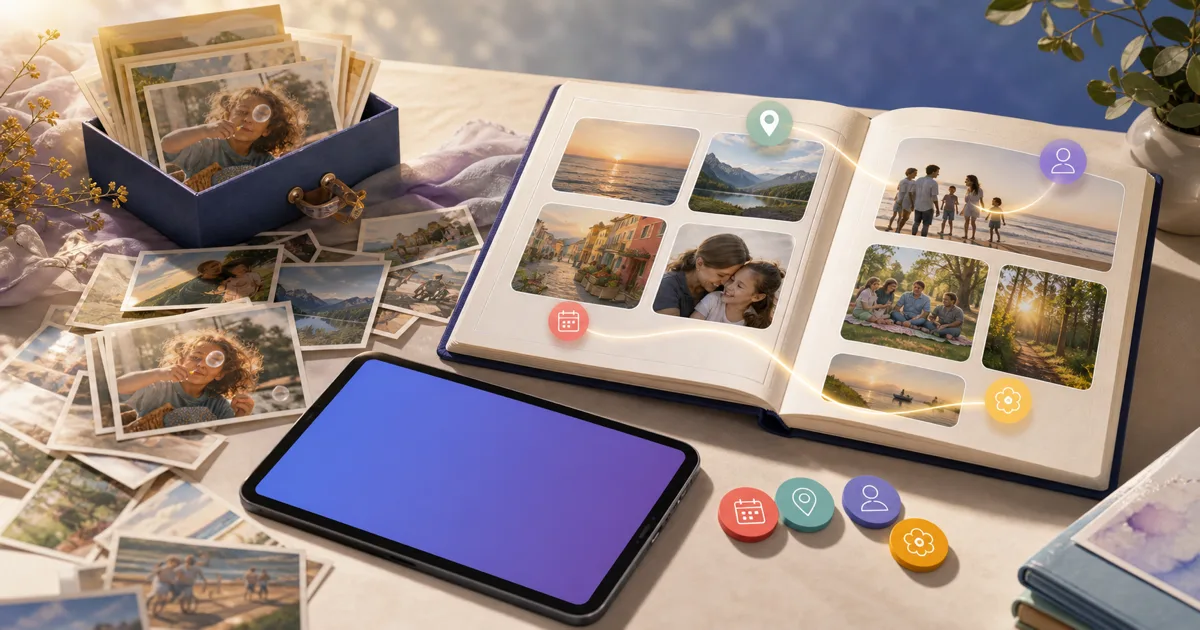
A searchable family photo archive needs more than scans. Preserve a high-quality master, give every image a stable reference, record who supplied it, capture names, place, date, event, and uncertainty, then connect the photograph to a short story in the narrator's own context. StoryBank can make those stories easy to revisit, but the preservation masters and catalogue should also exist outside the app.
This workflow suits photo organisers, family historians, archivists, and relatives with inherited collections.
Why image files alone are not an archive
The visual content may survive while meaning disappears. A scan called IMG_8472.jpg does not tell the next person:
- Who is pictured.
- Who took or owned the photograph.
- Where and roughly when it was made.
- What happened just before or after it.
- Why the image mattered enough to keep.
- Whether names and dates are certain.
- Whether the family agreed to share it.
Use a four-layer model
| Layer | Purpose | Example |
|---|---|---|
| Physical original | Preserve the object and inscriptions | Mounted print with handwriting on reverse |
| Digital master | High-quality, minimally altered preservation copy | TIFF or highest-quality scan retained safely |
| Working image | Practical copy for editing, sharing, and apps | Cropped JPEG used in StoryBank |
| Story record | Human context and narrative | “Waiting for the ferry to Belfast, summer 1967” |
Do not discard the physical photograph, edit the only master, or assume an app copy retains master quality.
1. Stabilise and group the physical collection
Before scanning, work on a clean, dry surface with food and drink elsewhere. Preserve the existing order where it may be meaningful: an album sequence, envelope, annotation, or group of prints can carry context that is lost when everything becomes one pile.
Create temporary groups such as:
- Named albums or envelopes.
- Known family branch.
- Approximate decade.
- Location.
- Event.
- Unknown and needs identification.
- Fragile or specialist handling required.
Assign a box, album, or batch reference. Photograph album pages and annotations before removing anything, and avoid removing mounted or damaged items when doing so may cause harm. Consult a conservator for valuable or fragile material.
2. Create a stable identifier
Every photograph needs a reference that does not depend on knowing its subject. Use a simple scheme such as:
ELLIS-ALB03-0042
Write the identifier in the catalogue, not on the face of the print. If physical labelling is required, use an archival method appropriate to the object rather than a marker or adhesive label.
Use the reference as the beginning of the digital filename:
ELLIS-ALB03-0042_master.tif
ELLIS-ALB03-0042_working.jpg
ELLIS-ALB03-0042_reverse.jpg
This keeps front, reverse, master, and access copies together even before identification.
3. Scan a master and create a working copy
The Library of Congress recommends keeping a master file and using a separate working copy in its personal scanning guidance. Its example uses TIFF for the master and JPEG for convenient use.
Practical principles are:
- Capture enough resolution for the original size and likely future use.
- Save a minimally altered master.
- Scan the reverse when it contains handwriting, stamps, or studio marks.
- Check focus, alignment, colour, and dust before moving on.
- Make crops and tonal adjustments only on a working copy.
- Record the scan date, operator, device, and settings for a managed project.
Avoid promising one universal resolution. Tiny contact prints, large photographs, slides, negatives, and documents have different requirements. A professional project should set specifications for each material type.
4. Use metadata people can actually maintain
Start with a spreadsheet or collection database that will still be understandable without the original organiser.
| Field | What to record |
|---|---|
| Reference | Stable identifier linked to physical and digital items |
| Source | Album, box, envelope, or contributor |
| People | Full names, relationships, and uncertainty |
| Place | Specific place plus wider geography where useful |
| Date | Exact, approximate, decade, or unknown |
| Event or activity | Wedding, workplace, holiday, ordinary home life |
| Photographer | Known, attributed, or unknown |
| Inscription | Accurate transcription of writing on the object |
| Description | What is visibly present, without speculation |
| Story lead | Question or memory associated with the image |
| Rights and access | Owner, supplied-by note, private/family/public decision |
| Related items | Recording, letter, another photograph, StoryBank story |
Separate observation from interpretation. “Two adults beside a Ford van” is visible description. “Their first delivery van” is a family claim that should be attributed or verified.
5. Capture uncertainty explicitly
Uncertainty is useful data. Use consistent labels:
- Confirmed: identified by a reliable record or several informed sources.
- Attributed: identified by one person but not independently checked.
- Probable: evidence points strongly to an identification.
- Possible: a plausible suggestion needing more evidence.
- Unknown: no responsible identification yet.
Record who made the identification and when. A relative may later revise it. Do not silently replace the earlier attribution; keep a note of the change and evidence where the project warrants it.
Approximate dates can be expressed as “circa 1955,” “late 1970s,” or a range. False precision makes an archive look cleaner while making it less truthful.
6. Interview with the photograph, not about the filename
Show one or two images at a time. Begin with observation and move towards context:
- What do you notice first?
- Who would have kept this photograph?
- Where do you think everyone was standing?
- What was happening that day?
- What is outside the frame?
- What happened before or after this moment?
- What clothes, objects, or buildings help date it?
- Who might remember a different part of this story?
- Is there anything here you would prefer not to share?
Record the identification session with consent or take careful notes. Preserve the difference between the narrator's exact statement and the editor's later summary.
The life story interview guide explains equipment, open questions, review, and source preservation.
7. Turn one photograph into one focused story
Do not make the article title “Photo 42.” Use the image to anchor a scene.
A useful story structure is:
- Direct opening: state the central memory.
- Scene: describe place, people, objects, and action.
- Context: explain why this moment was happening.
- Meaning: record why the narrator remembers it now.
- Evidence note: retain date uncertainty or differing accounts where relevant.
For example, a beach photograph might become “The Sandwiches That Filled with Sand,” a story about a first family holiday, a broken windbreak, and the aunt who kept everyone laughing. That title is findable and human. The archive catalogue still retains the formal reference and technical data.
8. Add the story to StoryBank
StoryBank is designed to keep an image and its explanation together. Create the story from typed notes, a guided conversation, voice transcription, or the photograph itself. Then:
- Use the focused title.
- Add the reviewed narrative.
- Set the story date where supported and responsibly known.
- Add topic, person, and place tags.
- Upload the working image, not the only preservation master.
- Keep the story private during family review.
- Publish only the entries deliberately chosen for public access.
StoryBank can offer generated story images when a suitable photograph is unavailable. A generated image is an illustration, not evidence. Never use it to fill a documentary gap without making that status clear in the story.
StoryBank's privacy policy explains that public stories and associated profile details, images, dates, tags, and excerpts may be visible on the public web. Review that consequence before publishing a photograph of another person.
10. Review image rights and personal sensitivity
Owning a physical print does not automatically settle every copyright, privacy, or publicity question. A public family archive may identify living people, show private locations, reveal adoption or relationship information, or reproduce a professional photograph.
Before public sharing, ask:
- Who created the image, if known?
- Who supplied it and under what expectation?
- Who is identifiable?
- Is anyone shown in a vulnerable or private situation?
- Does the caption reveal more than the image itself?
- Can the story stay family-only instead?
Obtain advice when rights or risk are material. For everyday family work, a conservative private default is usually easier to widen later than a public release is to retract.
11. Back up the collection as a package
Keep the catalogue, masters, working files, recordings, and consent notes linked. A practical folder structure is:
Family-photo-archive/
  00-catalogue/
  01-masters/
  02-working-images/
  03-identification-audio/
  04-transcripts-and-stories/
  05-rights-and-access/
Maintain at least two independent copies, with one in a different physical or provider location. Test recovery by opening random files and restoring a small folder. Review storage media and formats periodically rather than assuming today's drive will remain readable forever.
The Library of Congress personal digital archiving resources provide further guidance on formats, descriptions, scanning, and preserving personal collections.
Conclusion
A searchable family photo archive combines preservation files with human context. Keep the physical originals, create masters and working copies, assign stable references, record uncertainty, interview respectfully, and connect each significant image to a focused story.
StoryBank can make those contextual stories attractive and easy to revisit while the independent catalogue and masters protect the collection's continuity. Explore StoryBank and plan the wider work with the family memory project guide.